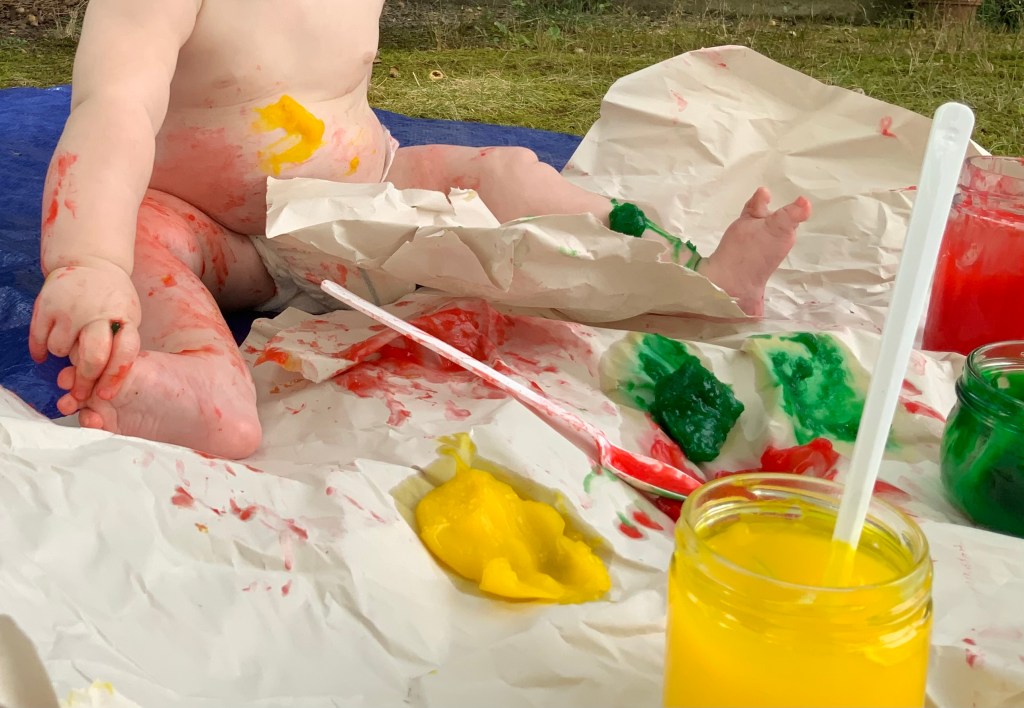
Art activities are so much fun! And of course they are terrifying in their potential for messiness. A careful preparation and a bit of forethought can go a long way. It’s not easy to be successful in the moment. I really enjoy mixing finger paints and setting up a mostly undressed baby either in the high chair or on the ground with paint and paper to play with.
In the first year of life, all the experiences are very sensory. Babies will touch and taste the paints and have unexpected reactions to new textures. Sometimes, all your efforts of organizing painting will result in a very short time of actual engagement by your grandchild and a whole lot of clean up. Don’t give up! It doesn’t take long for this to be a favorite thing to do. As your grandchild grows he will have more to say about which colors he wants and whether you are welcome to join in.
Safety first! All things that the baby paints with must be edible. You can literally use runny food. Home made finger paints made with corn starch and food coloring can be satisfying to make and can last a few days. I like to collect small jars (baby food, Thai curry paste etc) and then I can mix up one batch, divide it between the jars and add a rainbow of colors.
Finger Paint Recipe
1/3 cup of cornstarch, 3 tbsp sugar, 2 cups of water, food coloring
In a 1 quart saucepan, combine the flour, sugar and water and stir over a gentle heat until the mixture thickens. It takes around 5 minutes. Allow to cool, divide into small containers and color each one separately. If you don’t use the paint within a few days, you will probably need to throw it out.
Ice Cube Paint
Fill an ice cube tray with water and add food coloring in all the colors you have. Freeze. You can use any or all of the cubes as you wish. They keep indefinitely in the freezer, unlike the home made finger paint.
I should mention that ice cube painting did not appeal to my young granddaughter at first. She couldn’t bear the pain of the cold touch of the ice. As her fine motor skills developed she could push the ice cubes around the paper with a spoon. On a very hot summer day, we took everything outside and she was able to use her hands to move the ice cubes comfortably.
Paper
I collect paper that comes in packaging, I buy discounted paper when I see it, I use old printed copy paper that is still blank on one side. I cut the paper into different sizes. I also use pieces of card that come in products like greeting cards or pantyhose. In addition, I also have higher quality watercolor paint paper for those days when the painting plans go really well. I love water color paper for ice cube painting as it holds up well. Good quality paper truly brings out the vibrancy of the colors. You can use anything that is paper like and can be painted on. Coffee filter paper is a good option too. Some of the infant toddler teachers I coached would sandwich paint between two layers of filter paper and let the infants play with it. It was taken away before total destruction occurred with very pleasing results. I learned a lot from those teachers.
Tools
Brushes come to mind of course but be warned that brushes may well get chewed on. There are painting tools in the stores that have sponges or mop heads instead of brushes. You can pretty much choose anything that can hold and deliver paint: corks, forks, spoons, cotton balls, feathers, and leaves. I would love to hear your thoughts on this.
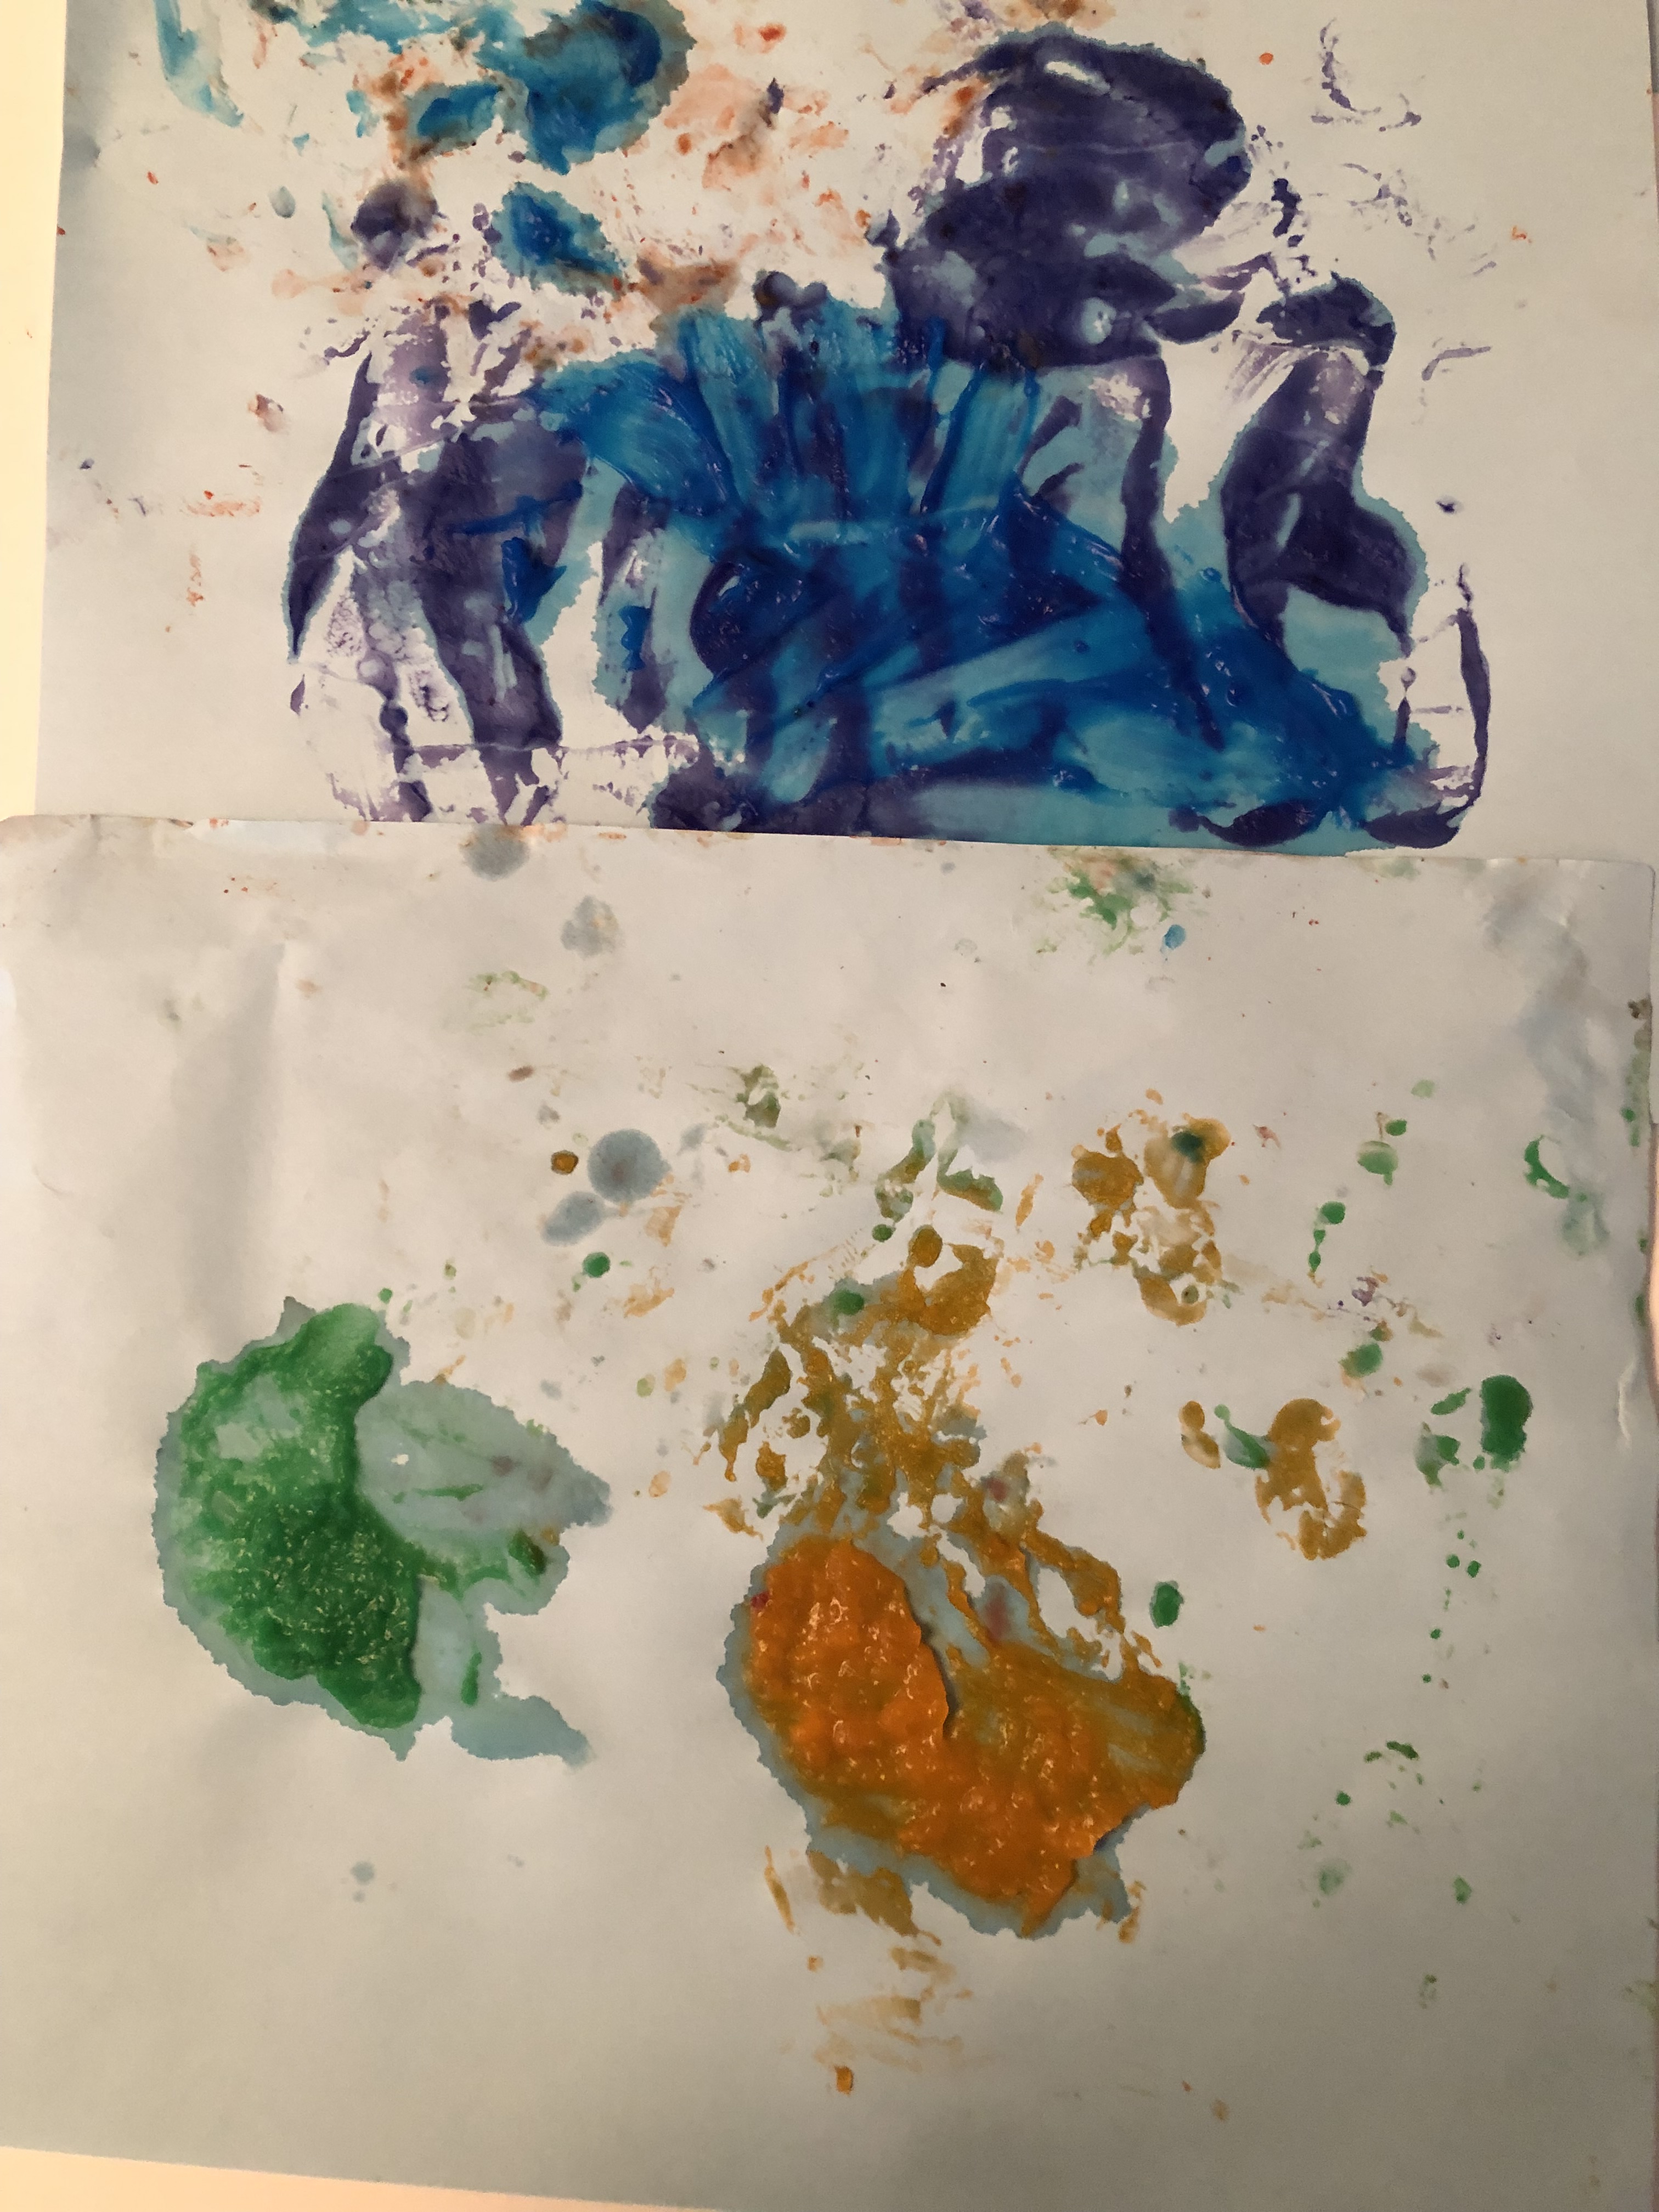
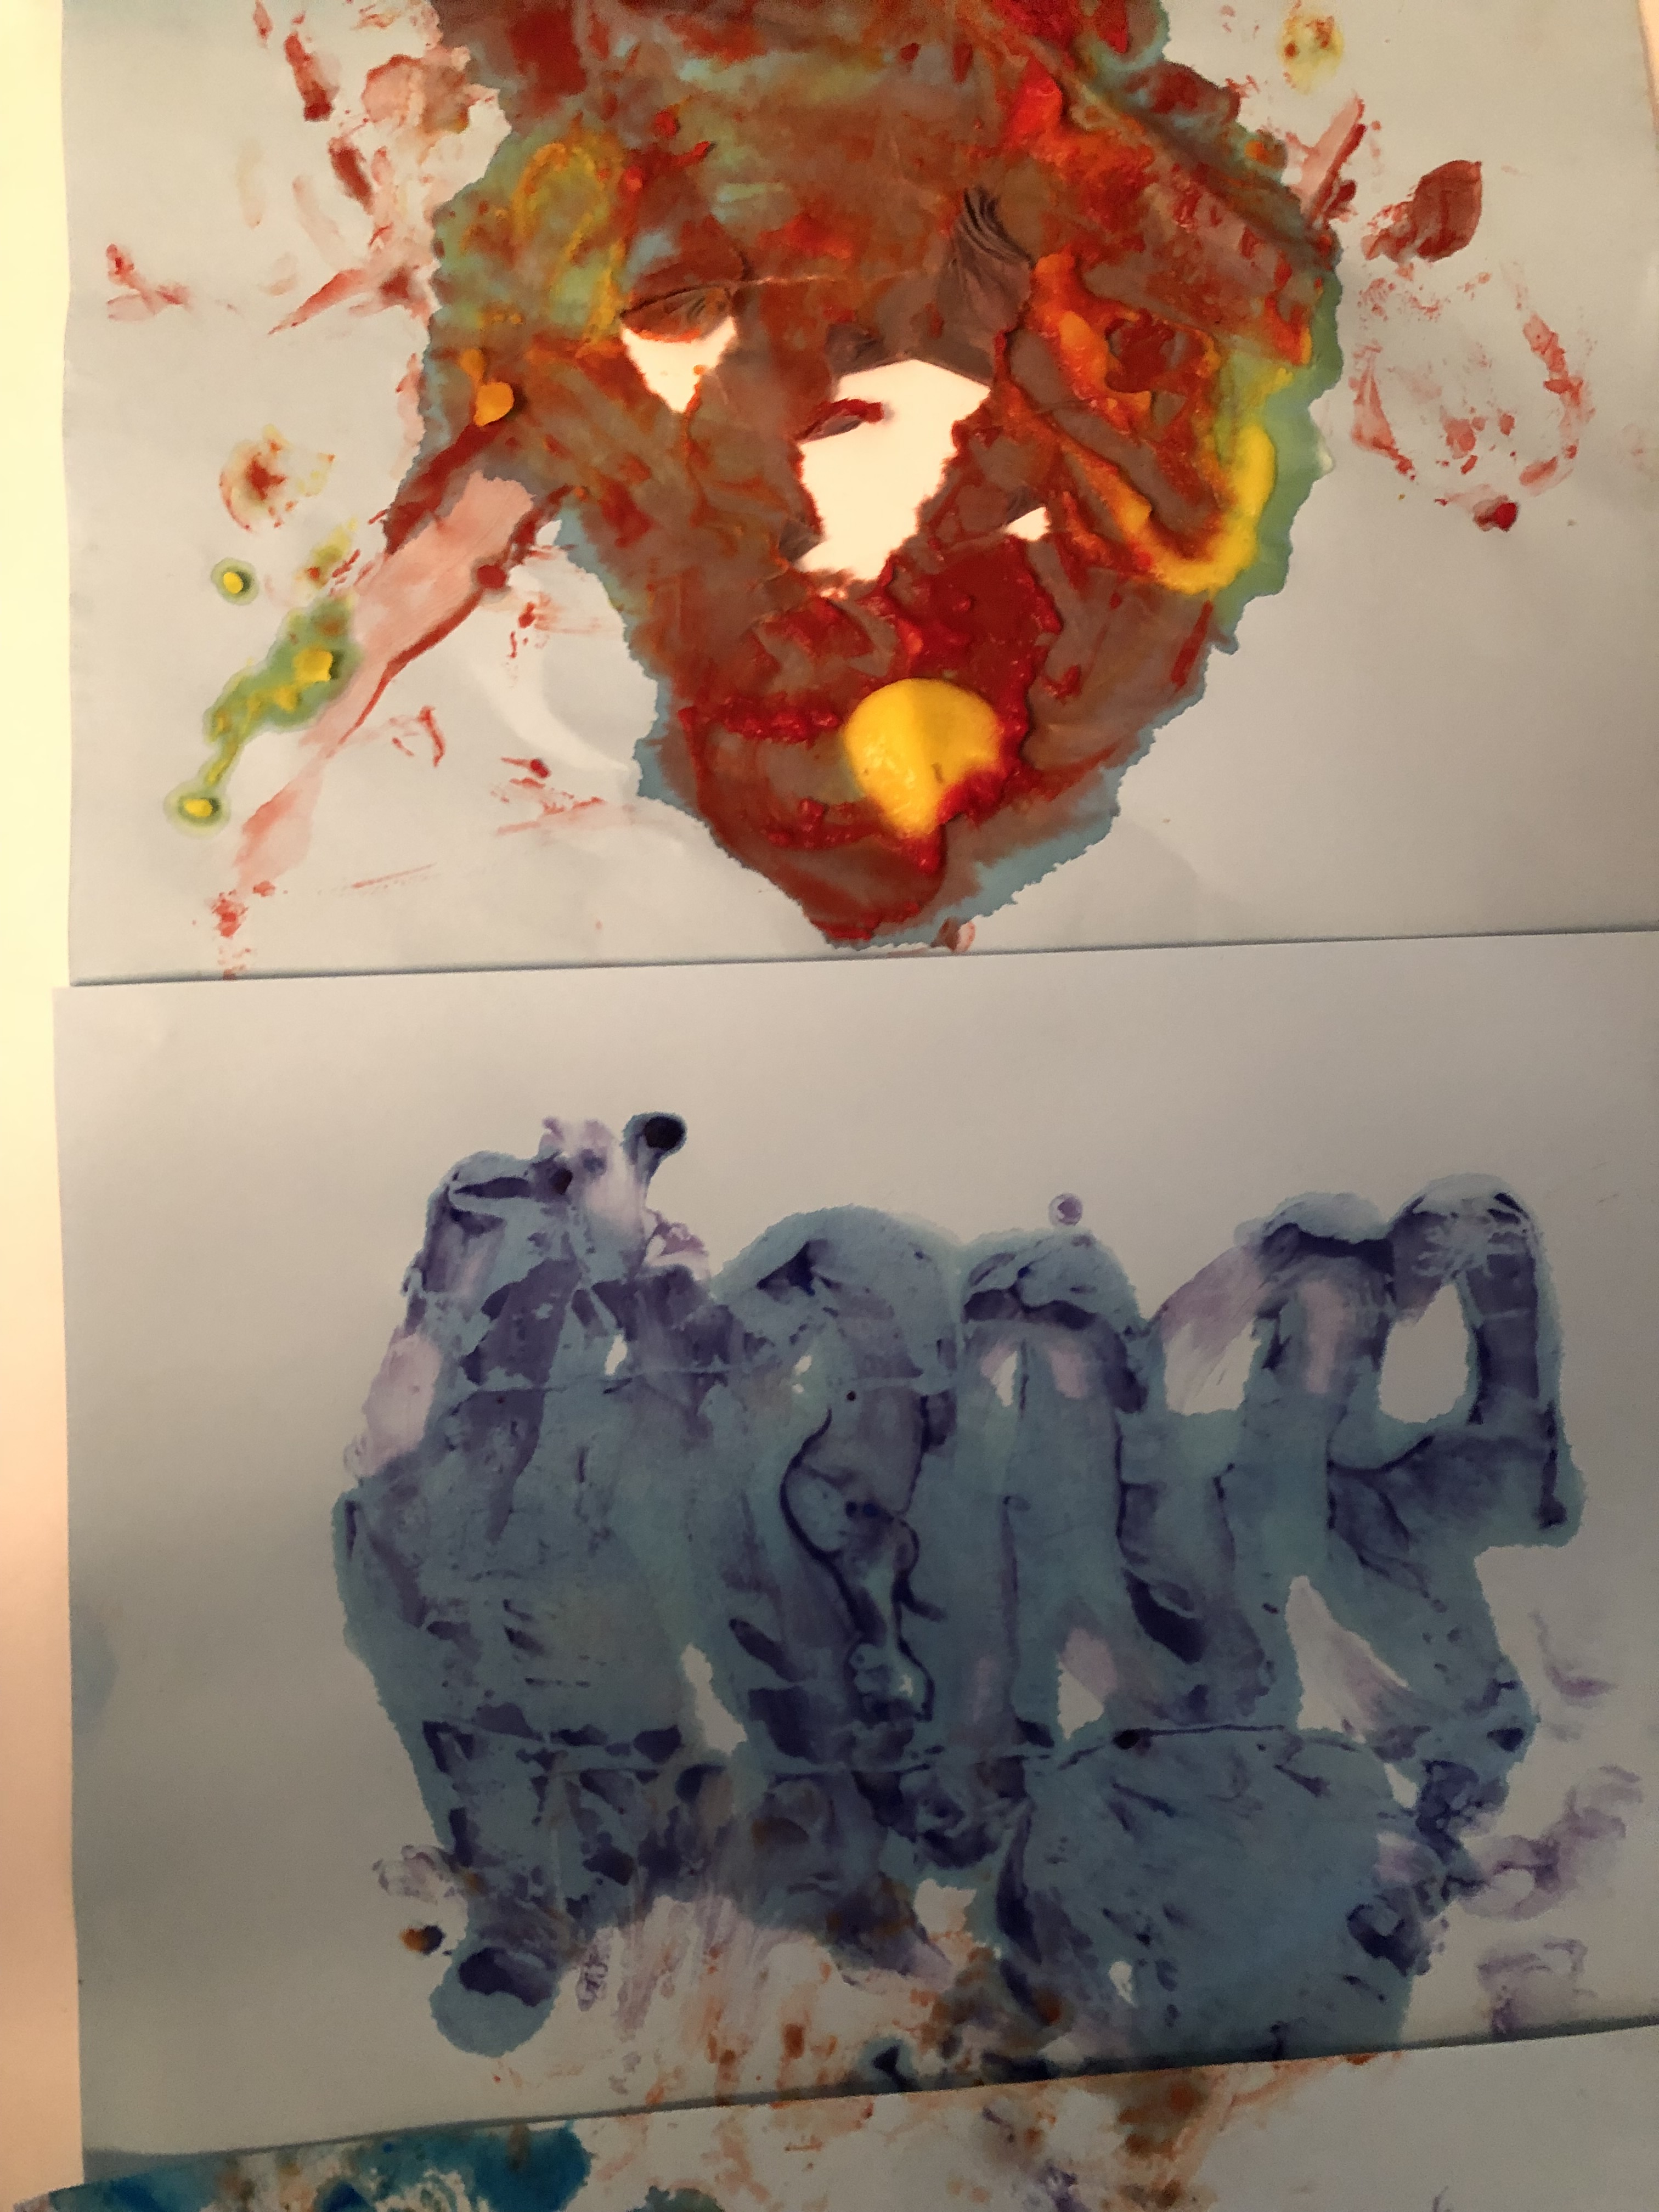
Some of these works of art won’t last long in themselves. Some papers get painted to holes because the babies are having such a good time. Sometimes you will get a piece that lasts that you might want to frame. You can always take photographs to build up your art collection that way and share with the parents.
I hope your grandchild’s first art experiences are messy and happy. I hope they lead to laughter and finish up in the bubble bath. Please share your art adventures with me, I would love to see what you are doing.

Leave a comment